
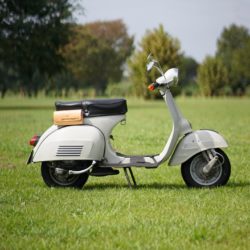
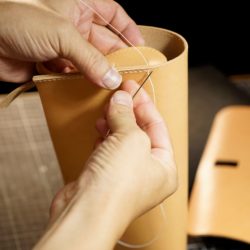
ベスパ用の耳つきサイドバッグの続きです。
これまでの制作過程はこちら
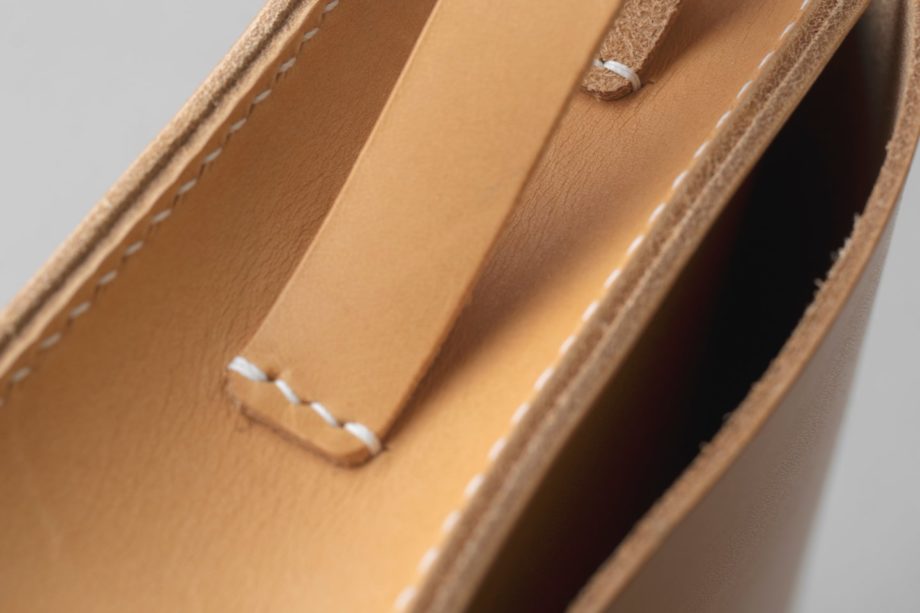
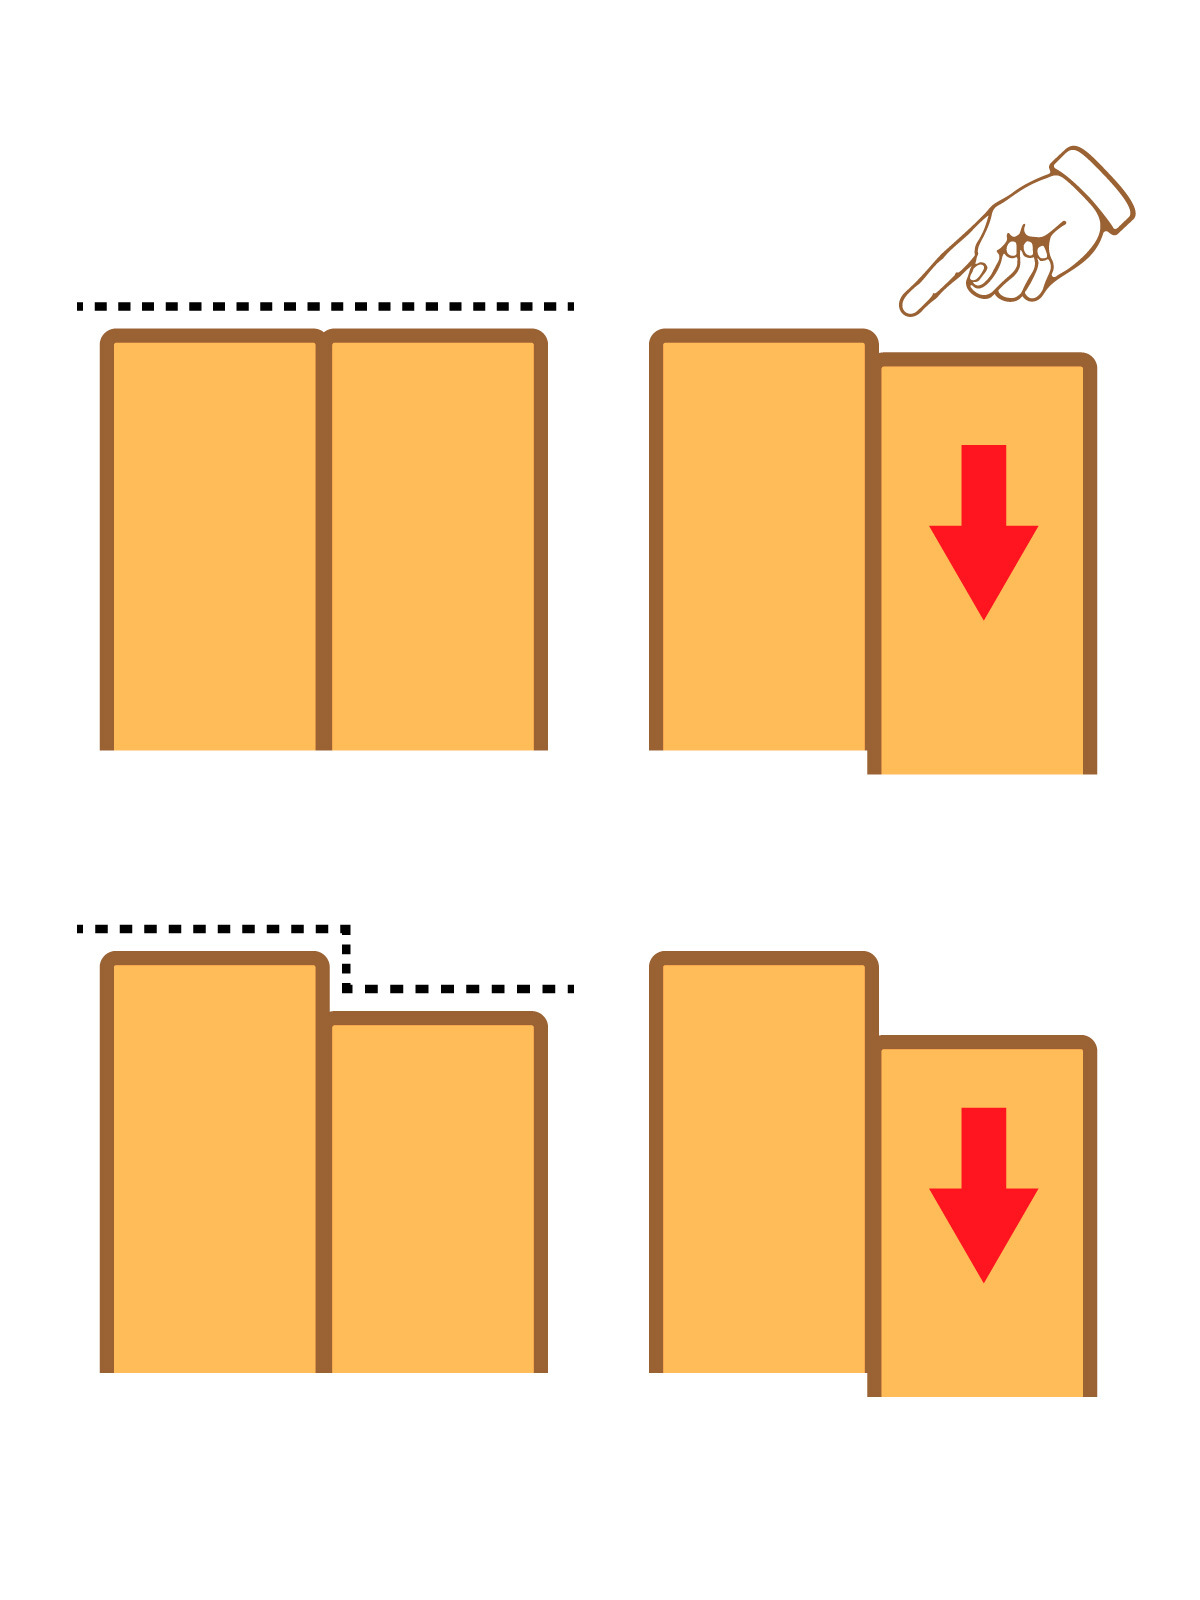
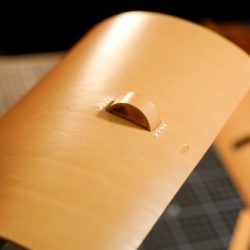
新しい試みの無垢コバ仕上げはこんな感じです。
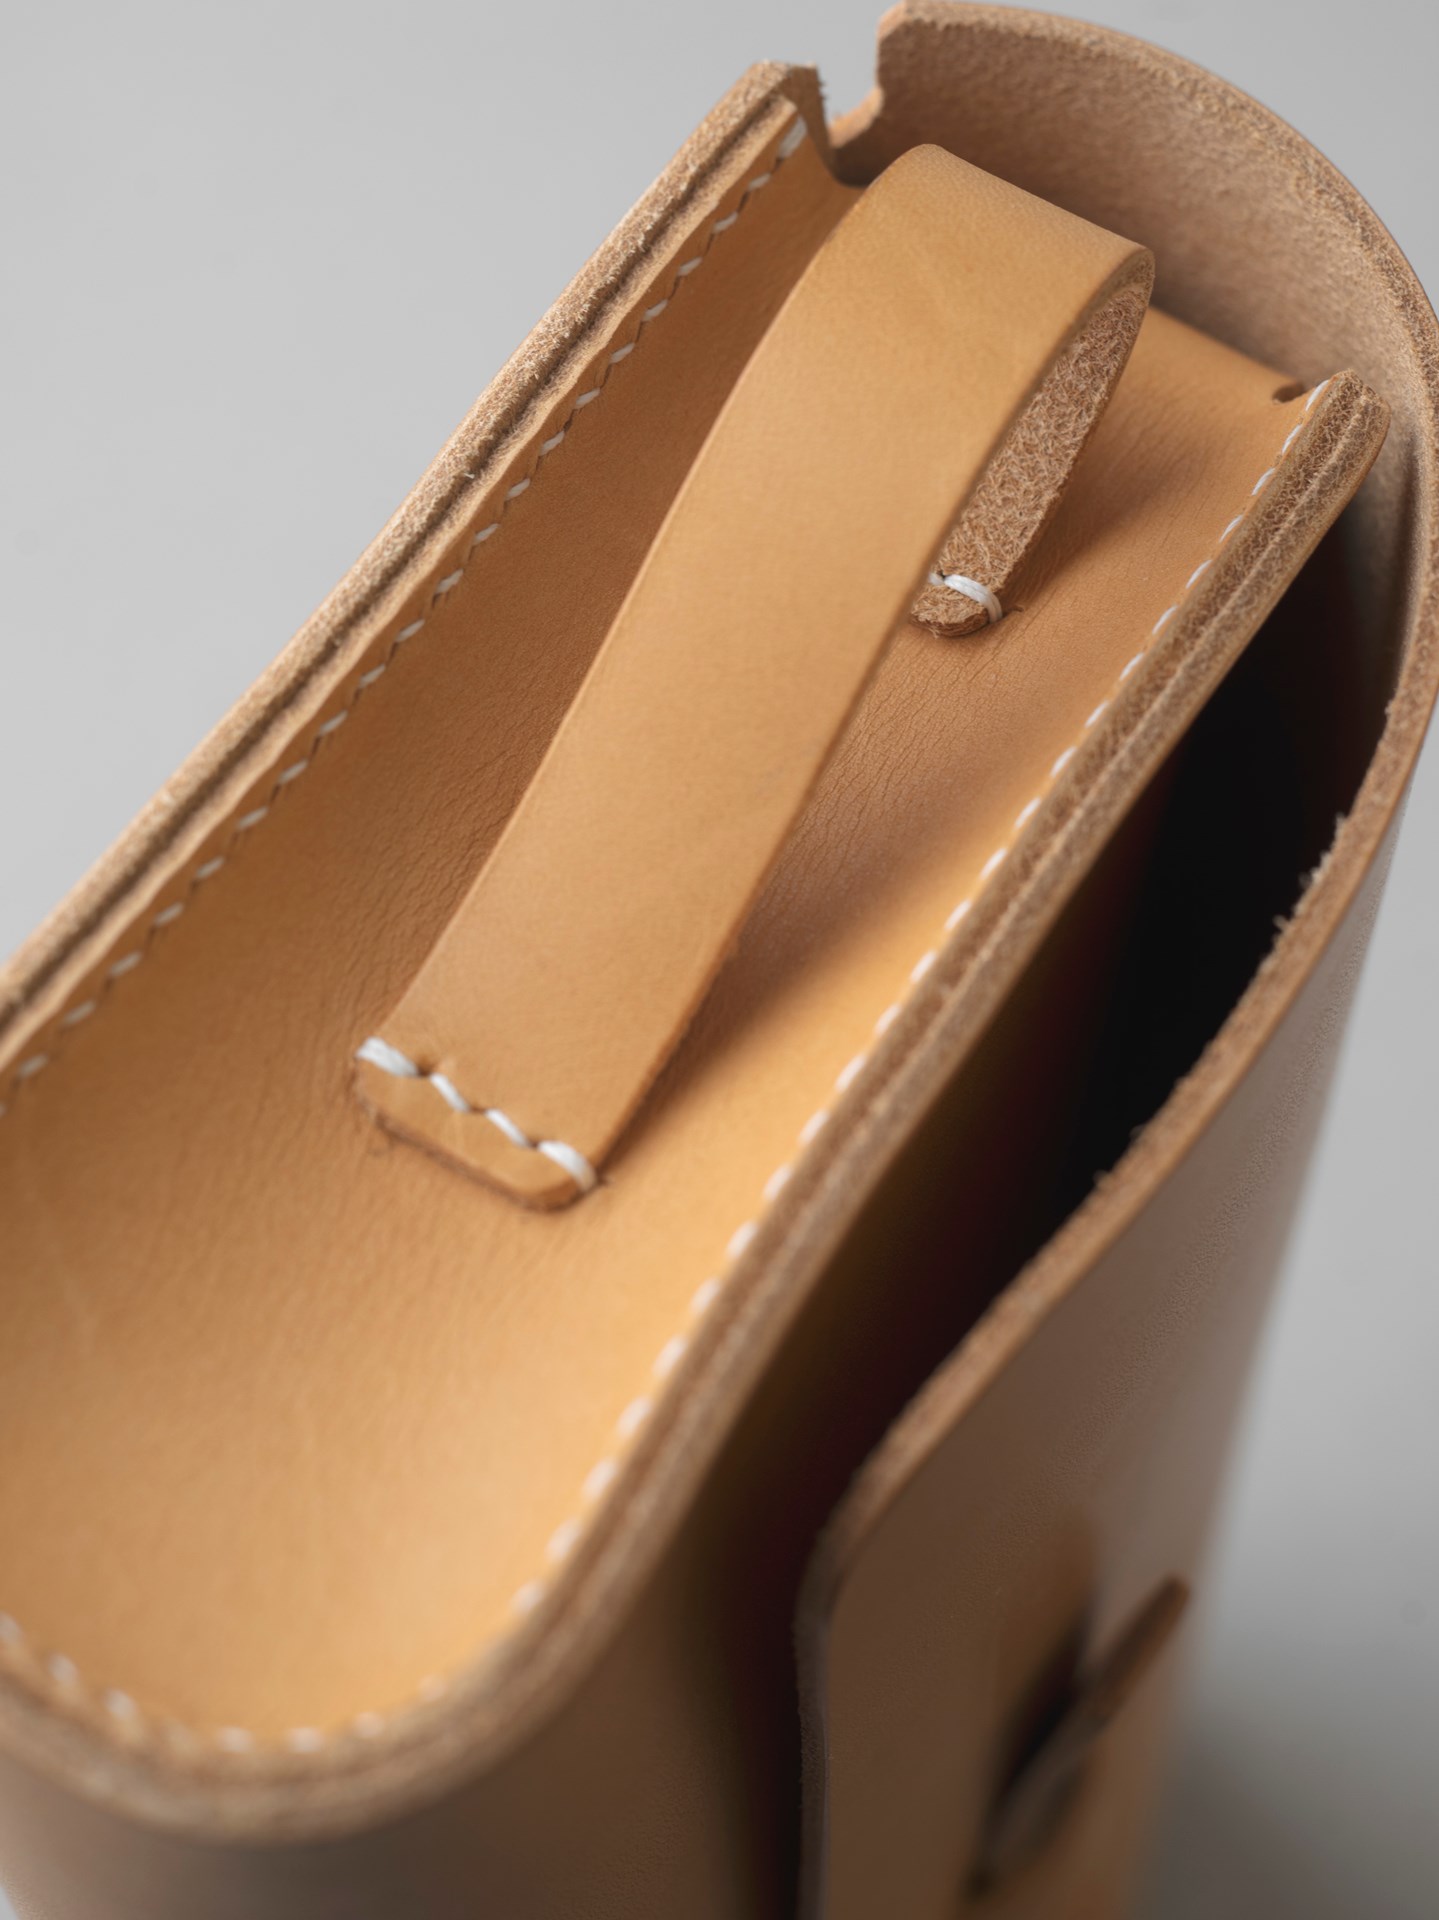
通常は革と革の断面を揃えて仕上げる所ですが、1mmほどの段差を付けて縫い合わせています。日々の使用によって長いコバが適度に丸まり、自然にコバが仕上がっていくのを狙っています。言ってみればコバのエイジングです。狙い通りになるのかは数年後にならないとわかりません…
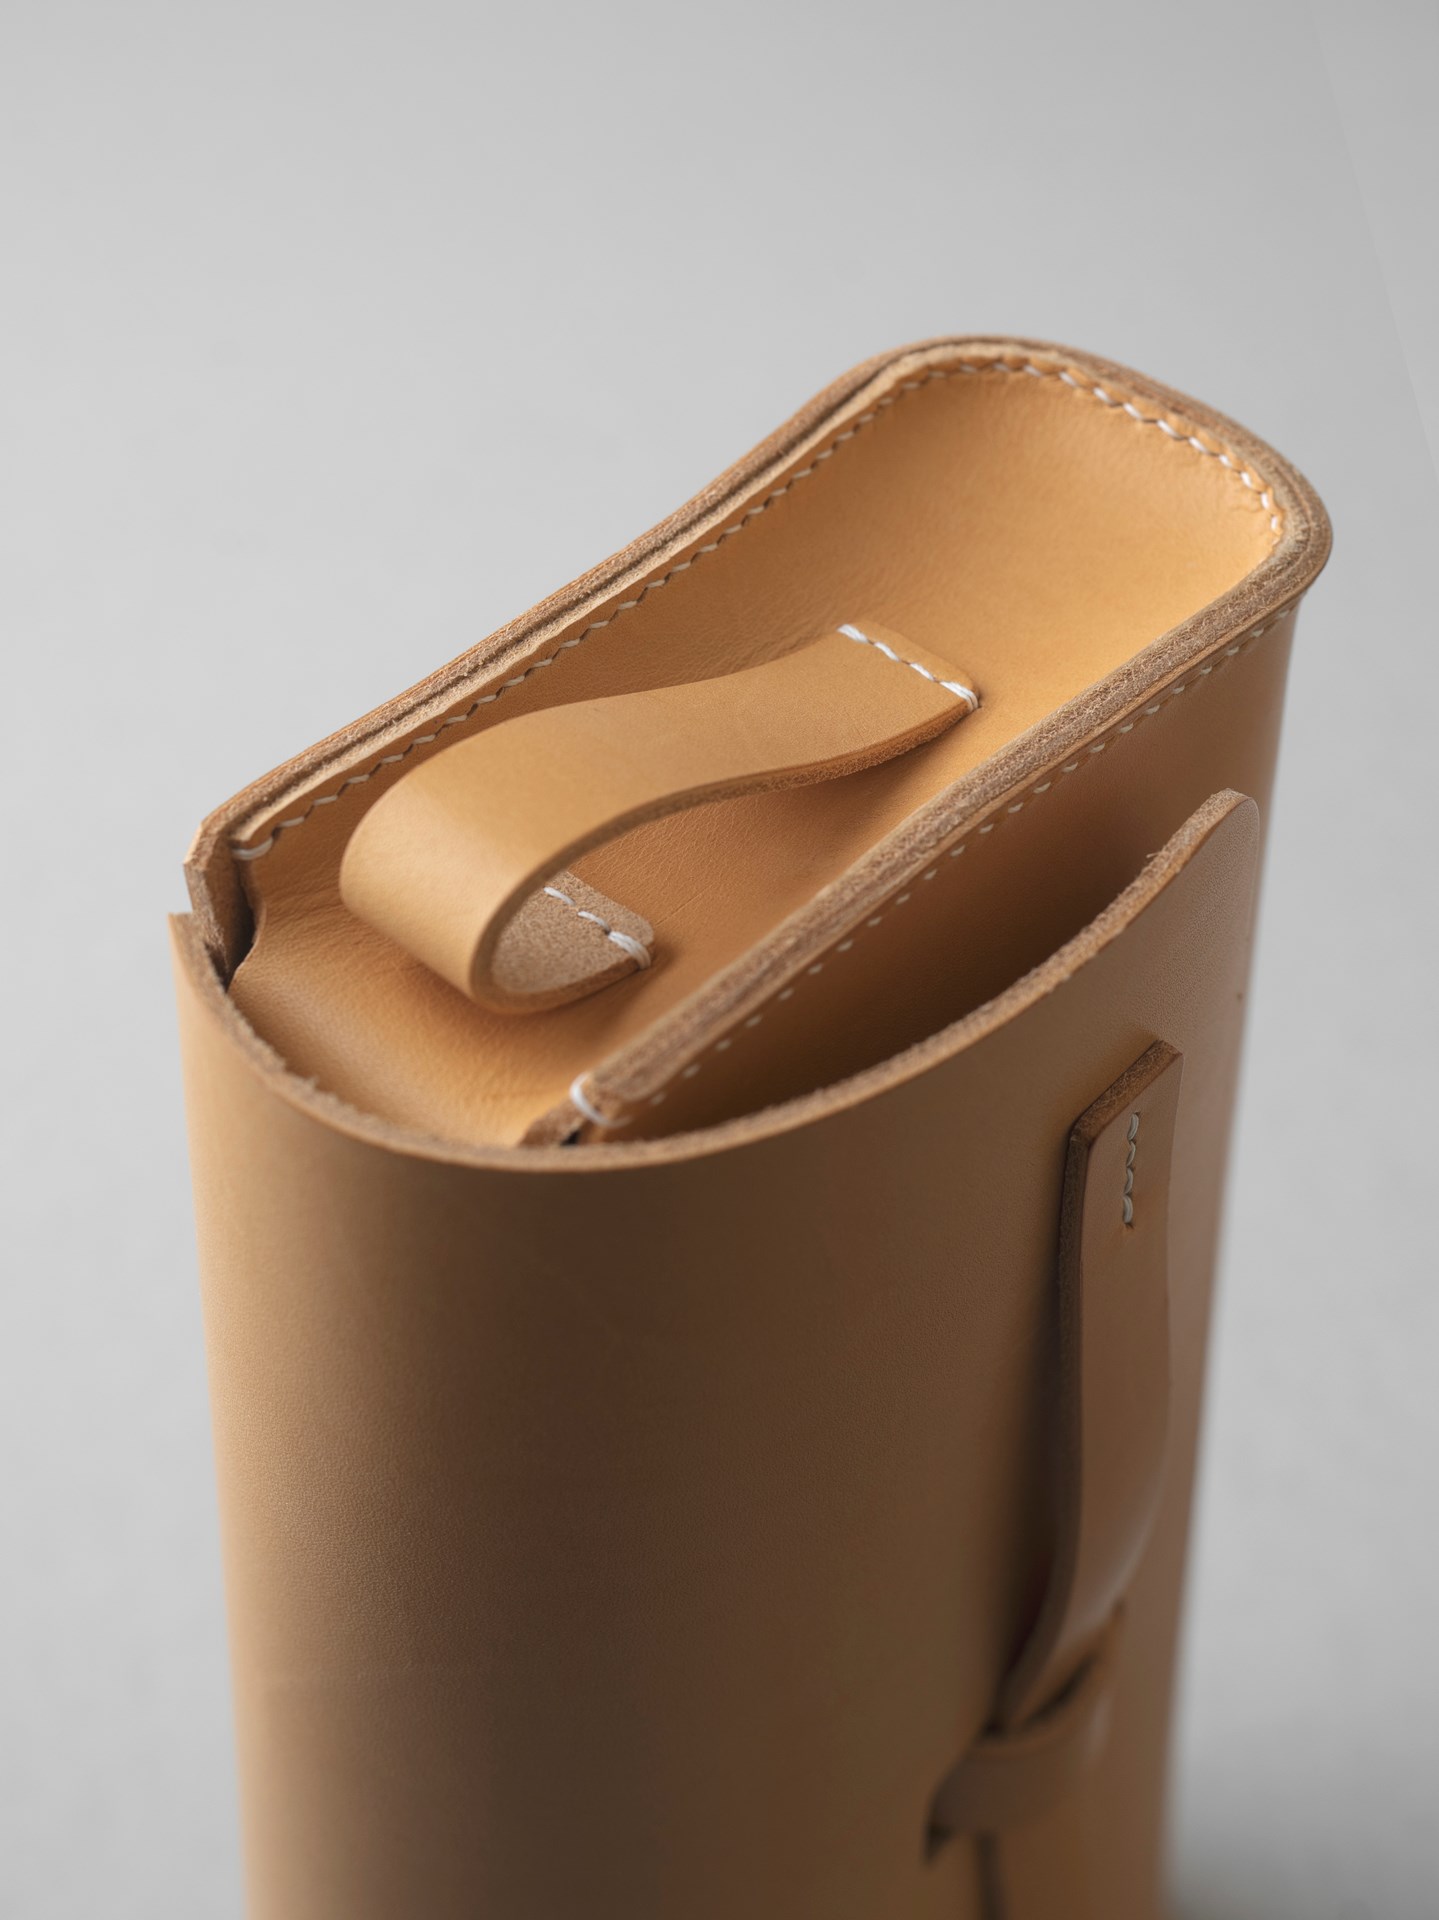
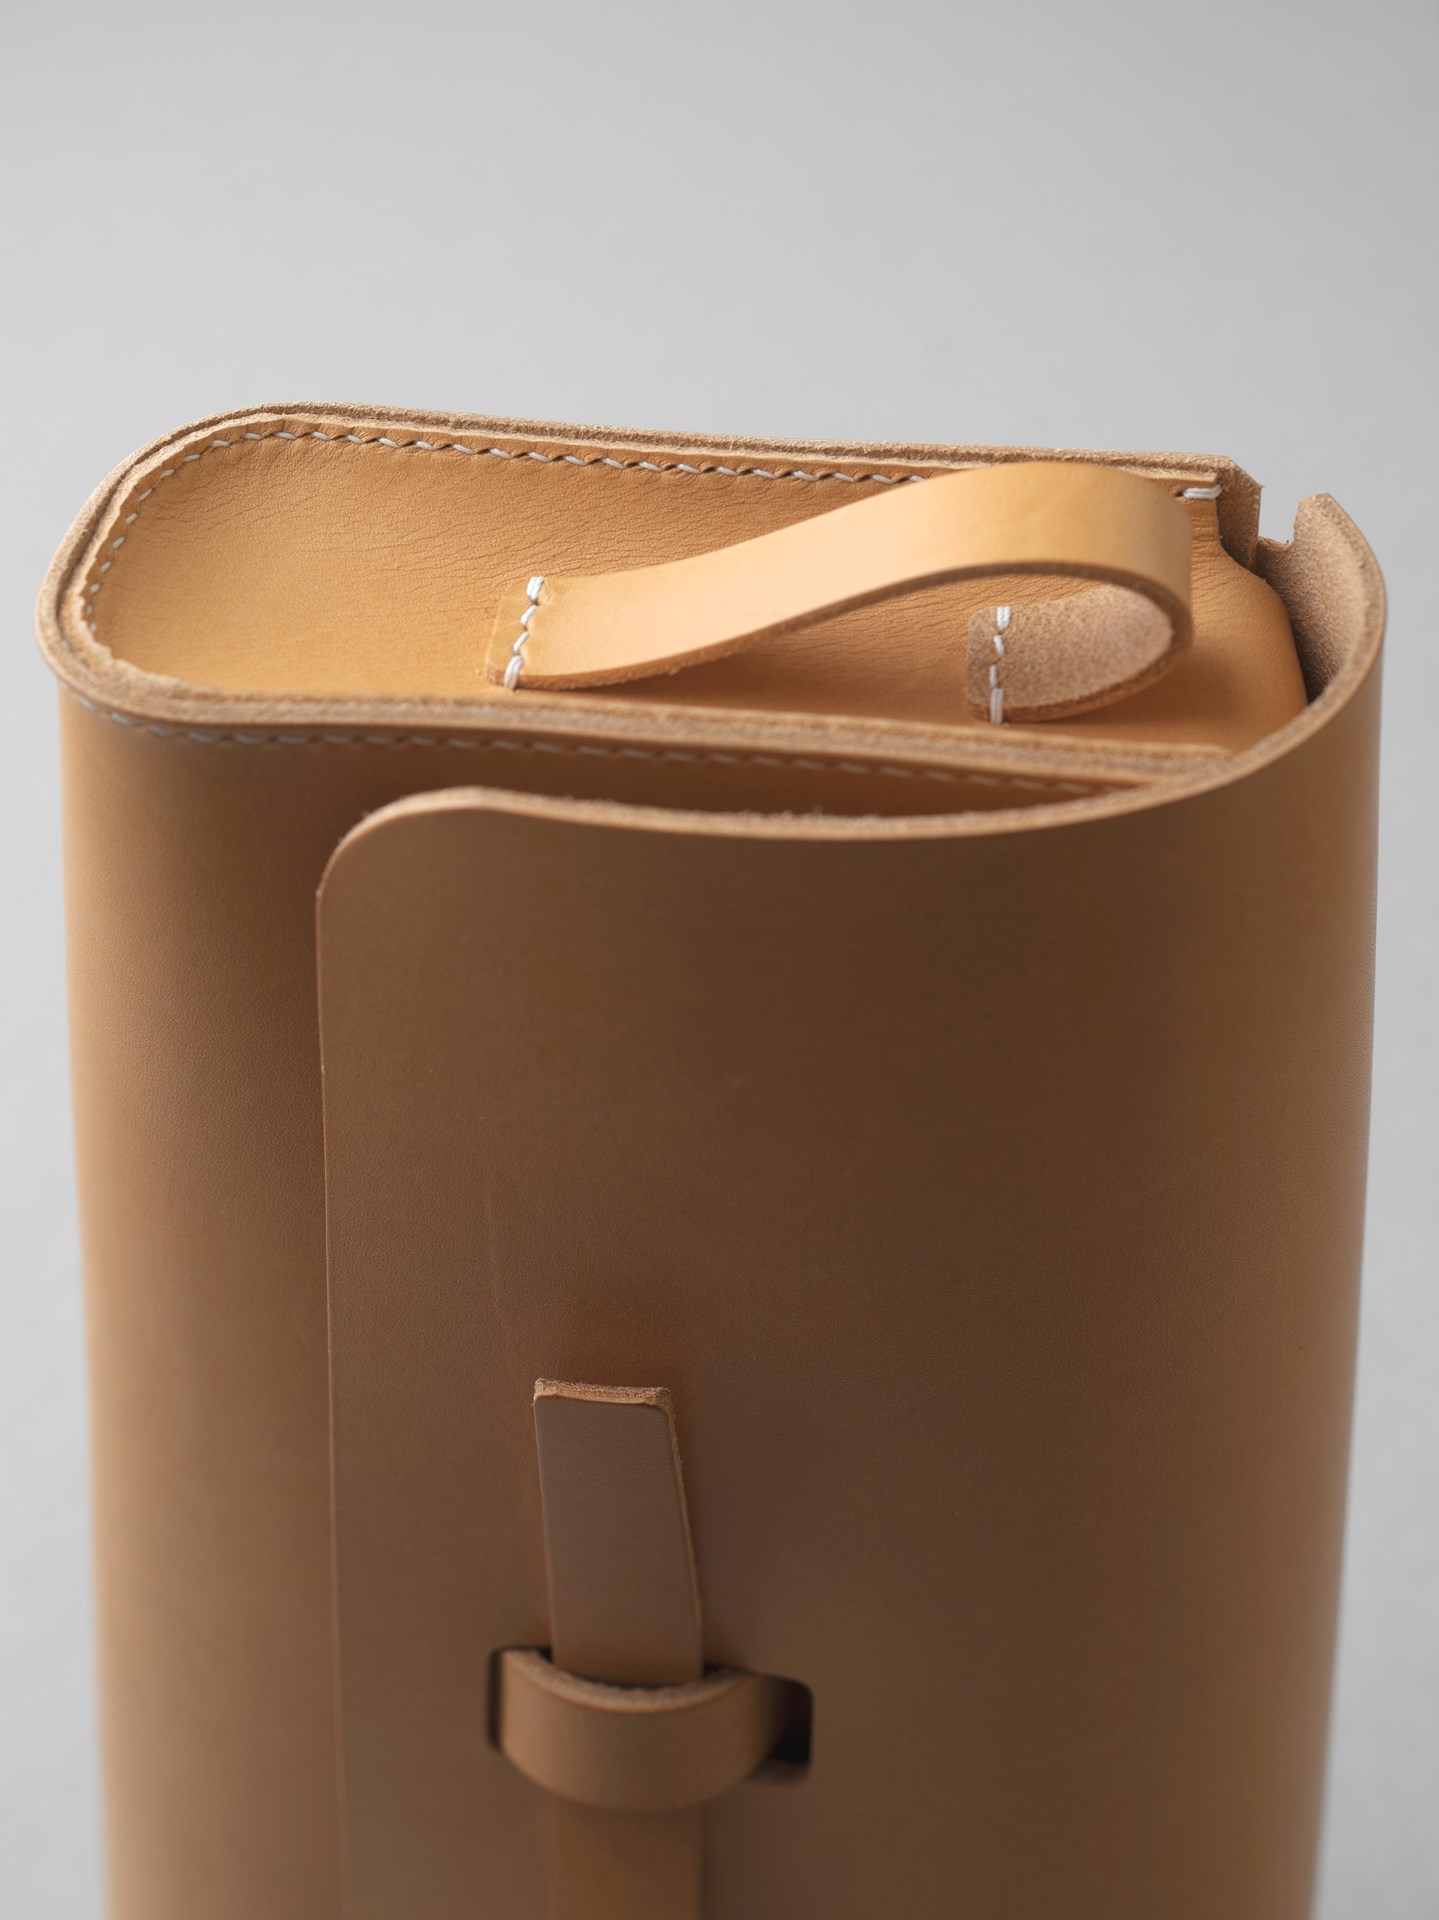
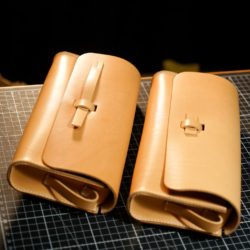
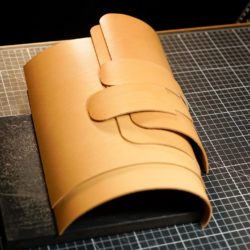
1mmずらしは、綺麗に揃ったものが少しでもズレると気になって仕方ないのに、最初からズレているものは更にズレても気にならないのを応用しています。
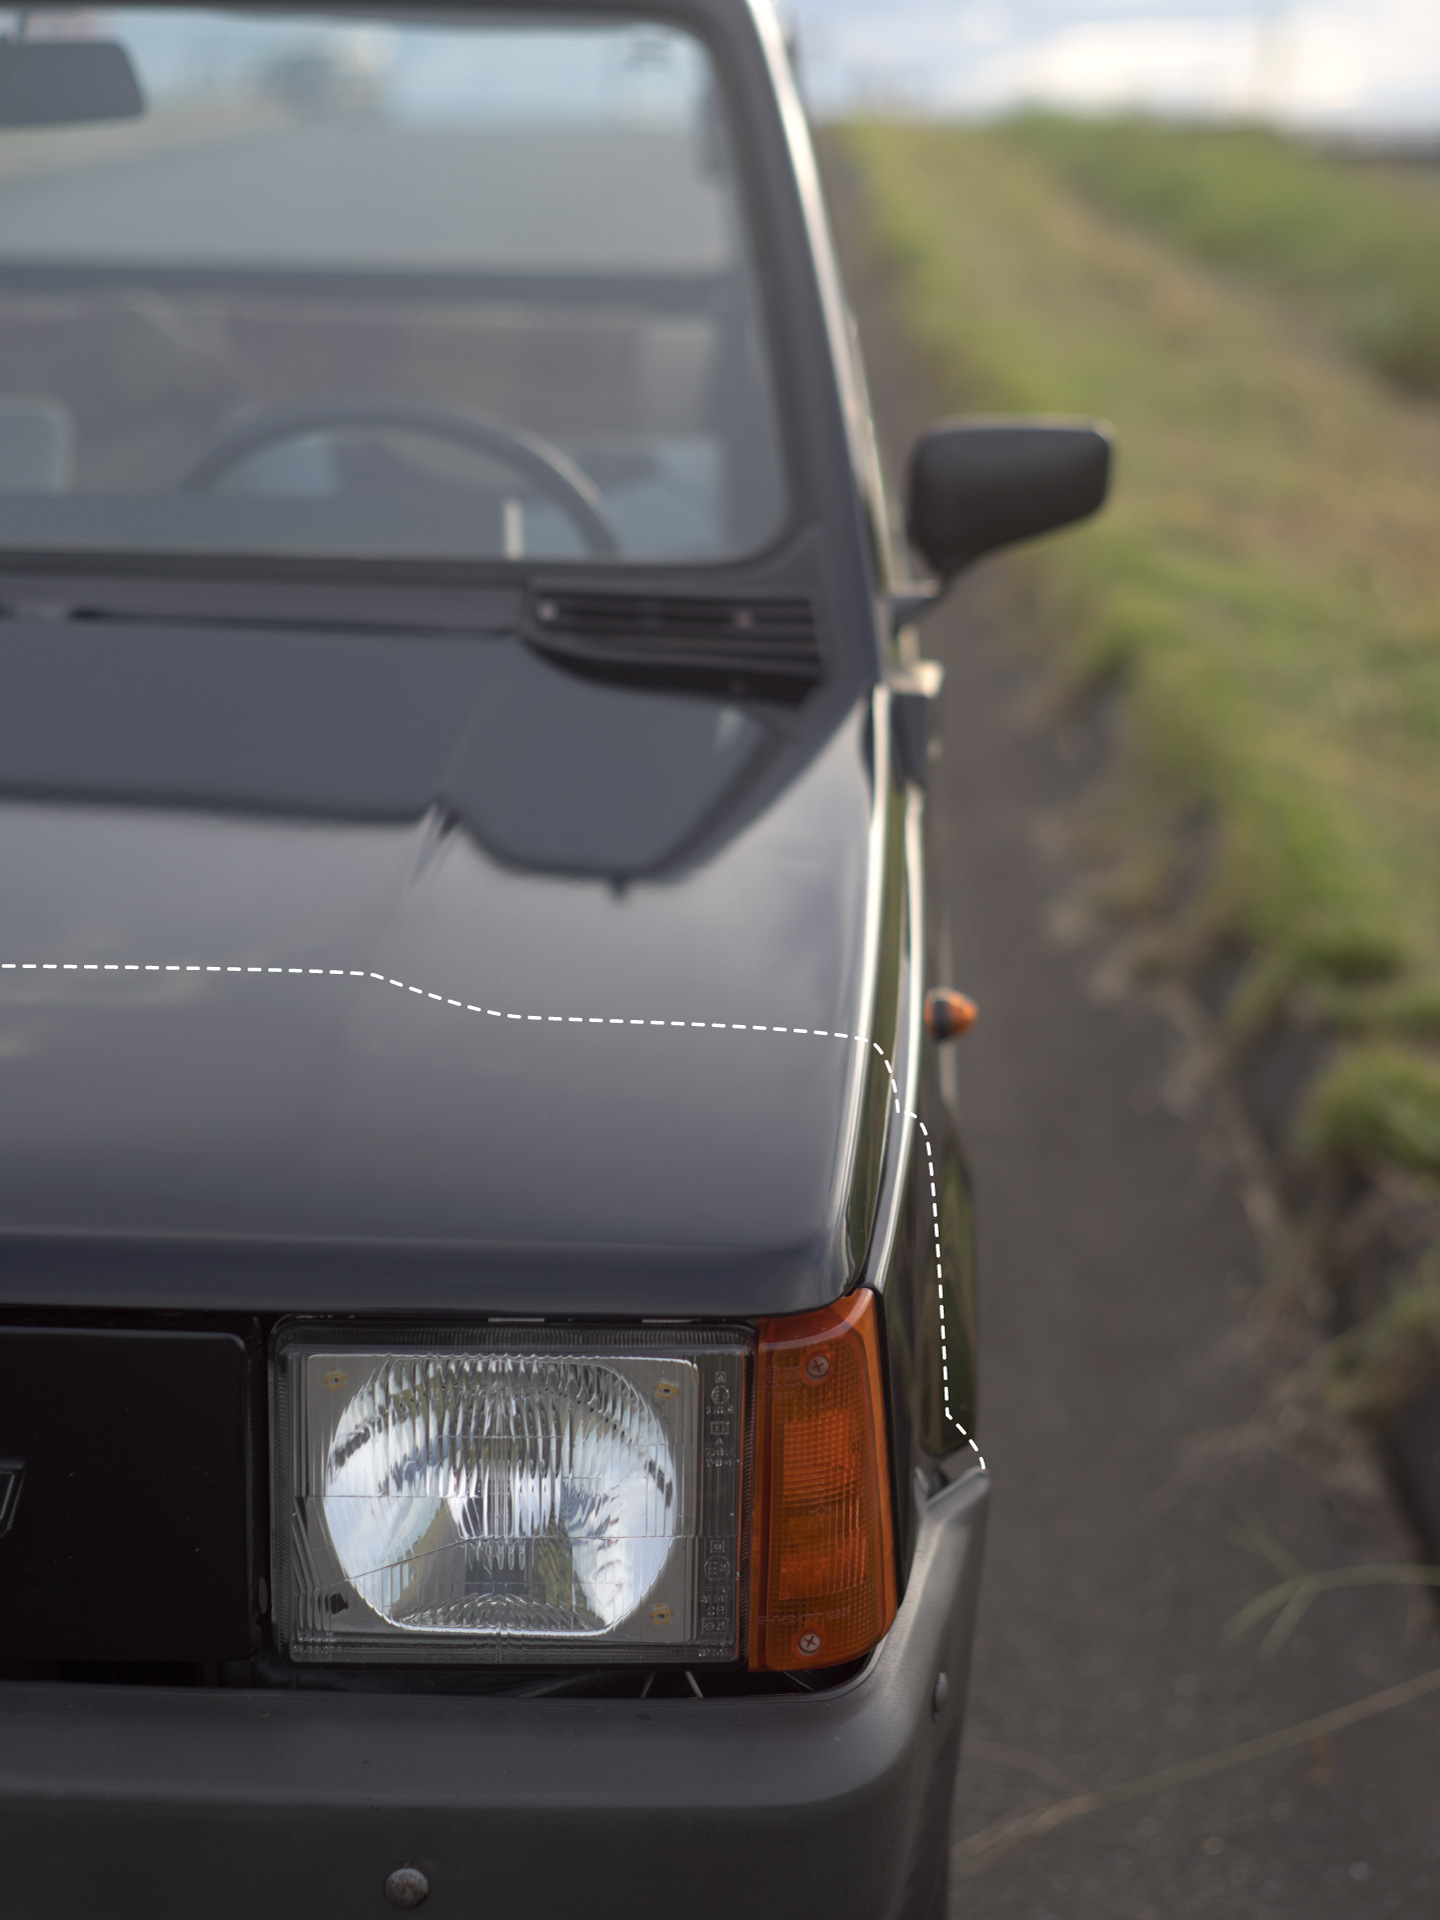
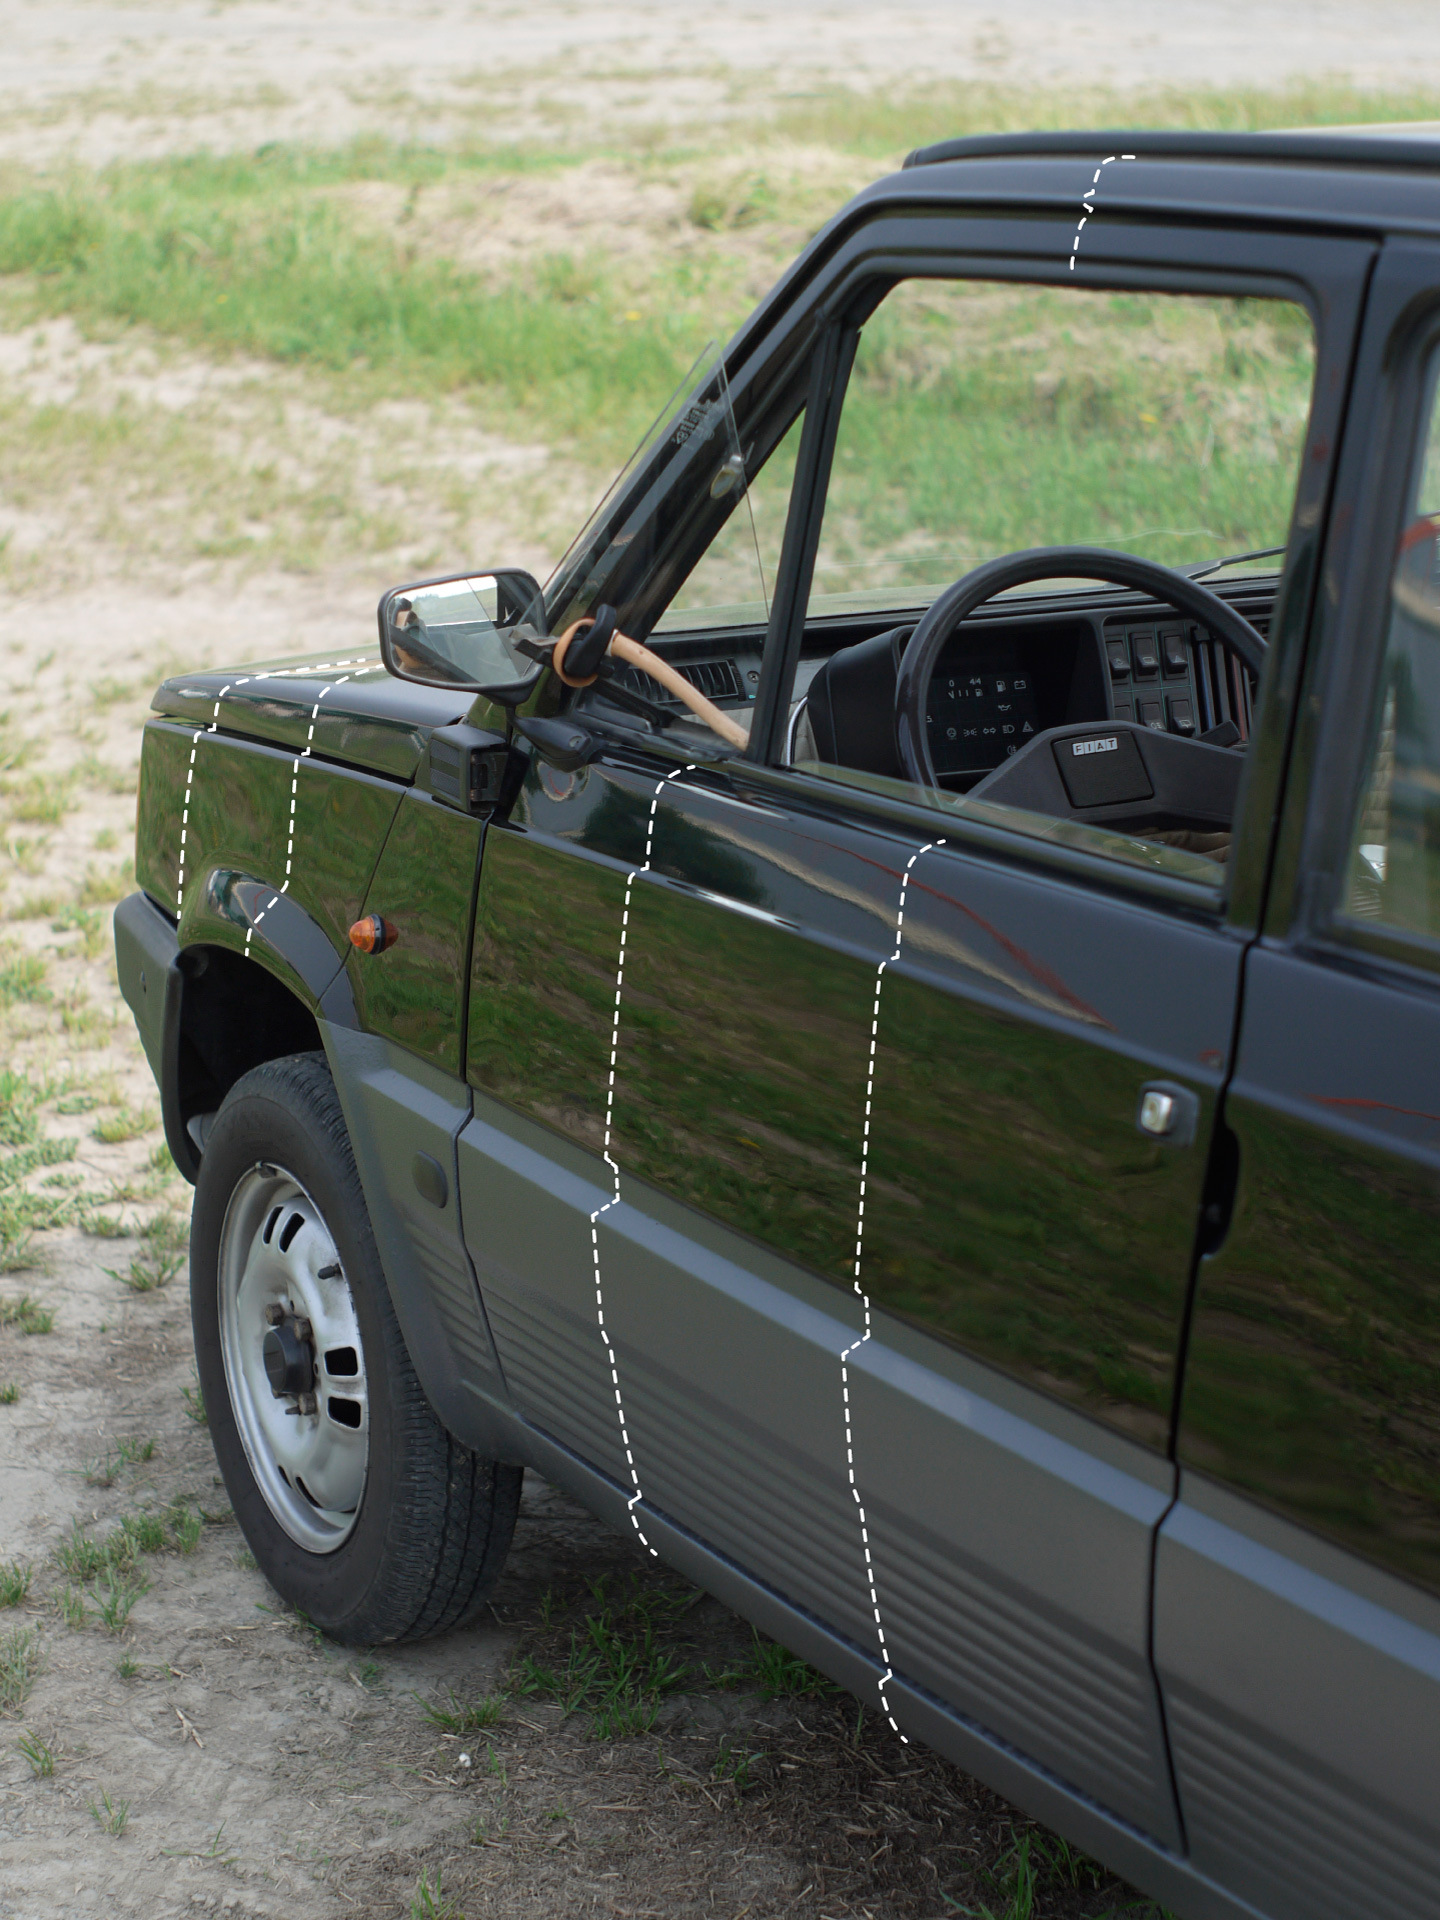
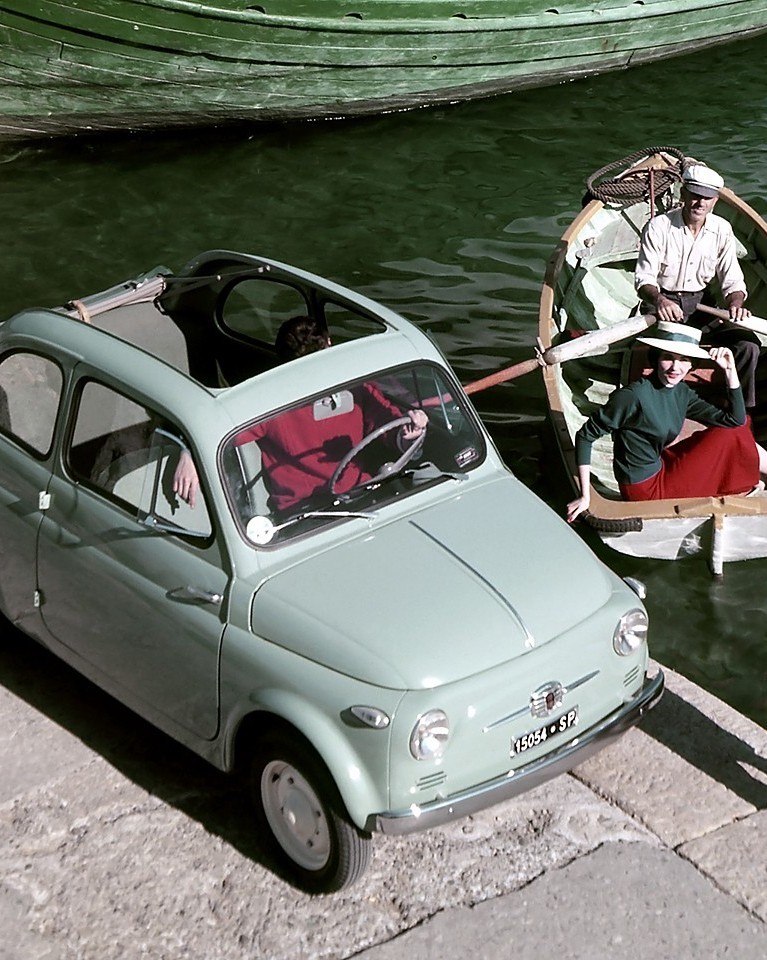
ヒントはくも舎の舎用車フィアットパンダやNuova500などのイタリアの大衆車です。車体とボンネットの段差は、組立でチリ合わせが不要になり、製造難易度を下げる。それでいて段差を意図的にデザインに取り込んでいます。
This is a continuation of the side bags for the Vespa.
Here is a new attempt at a solid koba finish. Normally, the leather is finished by aligning the cross sections of the leather with each other, but I stitched them together with a step of about 1mm. The leather is rounded off moderately by daily use, and the koba is finished naturally. In other words, it is the aging of the koba. I won’t know until a few years from now whether it will turn out the way I want it to….
If something that is nicely aligned shifts even a little, it bothers us, but We don’t mind if it shifts even more if it is out of alignment. The hint is Italian small cars like the Fiat Panda and Nuova 500. The bumps between the car body and hood make it unnecessary to align the bumps neatly in assembly, making assembly easier. And yet it makes the bumps a good design feature.
こんな記事も読まれています。
 ベスパ用サイドバッグをラージベスパに装着テスト チェタック(ラージフレーム)と耳つきサイドバッグ
チェタックはスプリント、スーパー、GTRなどのラージベスパと同寸法です。こちらも給油の […]
ベスパ用サイドバッグをラージベスパに装着テスト チェタック(ラージフレーム)と耳つきサイドバッグ
チェタックはスプリント、スーパー、GTRなどのラージベスパと同寸法です。こちらも給油の […] ベスパ用サイドバッグをスモールベスパに装着テスト ベスパ50S(スモールフレーム)と耳つきサイドバッグ
実際に取り付けてみました。以前は給油ごとにサイドバッグを外していましたが、そのまま […]
ベスパ用サイドバッグをスモールベスパに装着テスト ベスパ50S(スモールフレーム)と耳つきサイドバッグ
実際に取り付けてみました。以前は給油ごとにサイドバッグを外していましたが、そのまま […]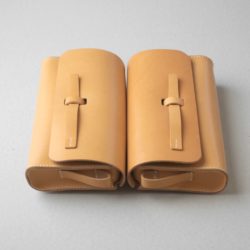 ベスパ用サイドバッグをつくる その8 ベスパ用の耳つきサイドバッグが完成しました。
これまでの制作過程はこちら
https://kumosha.com/now_230922 […]
ベスパ用サイドバッグをつくる その8 ベスパ用の耳つきサイドバッグが完成しました。
これまでの制作過程はこちら
https://kumosha.com/now_230922 […] ベスパ用サイドバッグをつくる その6 ベスパ用の耳つきサイドバッグの続きです。
これまでの制作過程はこちら
https://kumosha.com/now_230920/
[…]
ベスパ用サイドバッグをつくる その6 ベスパ用の耳つきサイドバッグの続きです。
これまでの制作過程はこちら
https://kumosha.com/now_230920/
[…] ベスパ用サイドバッグをつくる その5 ベスパ用の耳つきサイドバッグの続きです。
これまでの制作過程はこちら
https://kumosha.com/now_230919/
[…]
ベスパ用サイドバッグをつくる その5 ベスパ用の耳つきサイドバッグの続きです。
これまでの制作過程はこちら
https://kumosha.com/now_230919/
[…] ベスパ用サイドバッグをつくる その4 ベスパ用の耳つきサイドバッグの続きです。
これまでの制作過程はこちら
https://kumosha.com/now_230916/
[…]
ベスパ用サイドバッグをつくる その4 ベスパ用の耳つきサイドバッグの続きです。
これまでの制作過程はこちら
https://kumosha.com/now_230916/
[…] ベスパ用サイドバッグをつくる その3 ベスパ用の耳つきサイドバッグの続きです。
これまでの制作過程はこちら
https://kumosha.com/now_230915/
[…]
ベスパ用サイドバッグをつくる その3 ベスパ用の耳つきサイドバッグの続きです。
これまでの制作過程はこちら
https://kumosha.com/now_230915/
[…] ベスパ用サイドバッグをつくる その2 ベスパ用のサイドバッグ制作です。前回まではこちら
https://kumosha.com/now_230913/
基本サイズと設計 […]
ベスパ用サイドバッグをつくる その2 ベスパ用のサイドバッグ制作です。前回まではこちら
https://kumosha.com/now_230913/
基本サイズと設計 […]
コメントを残す